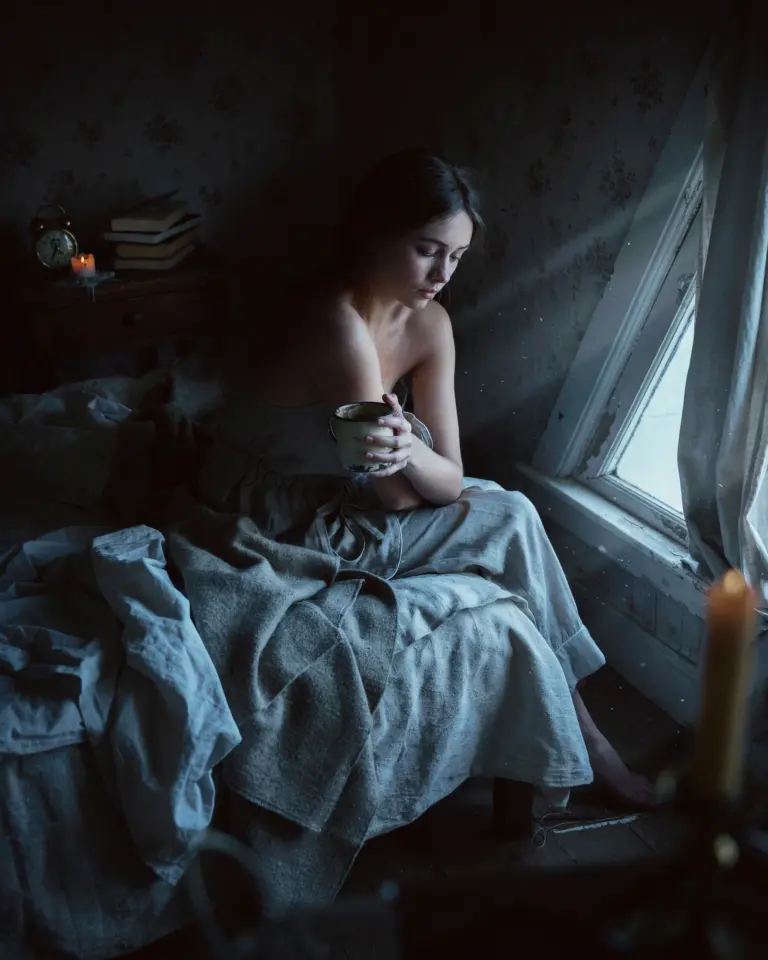
Choosing the Right Base Image for Soft Moody Edits
Not every photo is a good candidate for that dreamy, muted look. Aesthetic photo editing starts before you open any software. I look for images with natural contrast and clean composition. Portraits with soft window light, landscapes at golden hour, or simple still life work best. Avoid photos with harsh direct sun or heavy noise because the moody process can exaggerate those flaws.
If your original file is underexposed by a stop or two, that is actually perfect. You want detail in the shadows but not a flat image. For Instagram, I often choose photos where the background is plain, like a wall or open sky. This gives you room to play with colors without distraction.
Mastering the Lightroom Tone Curve for Dreamy Shadows
The tone curve is my favorite tool for soft moody tones. In Lightroom, go to the Tone Curve panel. Pull the bottom left corner (the shadows) up slightly. This lightens pure black into a dark gray, creating that soft, film-like base. Then lift the midtones a tiny bit and lower the highlights just a touch.
I personally set the curve like this: drag the shadows point to about 10% up from the corner, then place a point at the 25% mark and pull it down by 5 points. This keeps contrast without crushing blacks. For a more dreamy look, add a very faint S-curve in the highlights but keep it gentle. Remember, you can always mask the curve if it affects skin tones too much.
How to Use Lightroom Presets for Consistent Instagram Aesthetics
Presets save time, but they should be a starting point, not a crutch. I create my own presets by saving the adjustments from one successful edit. Start with the basics: bump clarity slightly to +10 for a soft glow, then lower the texture slider to -10 to smooth out sensor detail. This gives that ethereal look without ruining sharpness.
Here is a quick checklist for a moody preset you can build:
- Set Exposure to +0.2 to +0.4 (bright but not blown out).
- Drop Contrast to -15 (avoid flatness by adjusting the curve instead).
- Raise Shadows to +20, lower Blacks to -5.
- Reduce Vibrance to -10, keep Saturation neutral.
- In Color Grading, add a pastel pink or peach tint to the highlights and a cool blue to the shadows.
Apply this preset as a baseline, then tweak each photo. Instagram thrives on consistency, so use the same preset family for a whole carousel or grid row.
Adjusting Color Grading to Create Soft Pastel Highlights
Color grading is where the dreamy tone really comes to life. In Lightroom’s Color Grading panel (or HSL), focus on the highlights wheel. Drag it toward yellow or peach, but keep the saturation low, around 5 to 8. For the shadows, shift toward a muted blue or teal. This creates a soft split-tone effect that feels airy but grounded.
I avoid going too heavy on the shadows because it can make skin look sickly. Instead, keep the shadow hue around 210 degrees with saturation at 3. For the highlights, 30 degrees at 5 saturation works well for most portraits. If you use the HSL panel, desaturate greens and yellows slightly. This removes the harshness from grass or leaves and keeps the overall palette subdued.
Fine Tuning Exposure and Contrast Without Losing Softness
One common mistake is pushing contrast too high after applying a soft curve. That ruins the moody effect. Instead, use the exposure slider very carefully. I almost never raise it above +0.5 because I want to preserve the shadow detail. For contrast, I rely on the curve rather than the basic contrast slider.
If you need more pop in the midtones, use the Whites slider. Set it to +10 or +15 to add a gentle highlight without blowing out the sky. Then check your histogram. Keep the data away from the far right edge. For dark scenes, you can raise the Blacks slider slightly instead of dropping exposure. This
#AestheticPhotoEditing #PhotoEditingTips #MoodyPhotography #LightroomPresets #DreamyTones
Leave a Comment