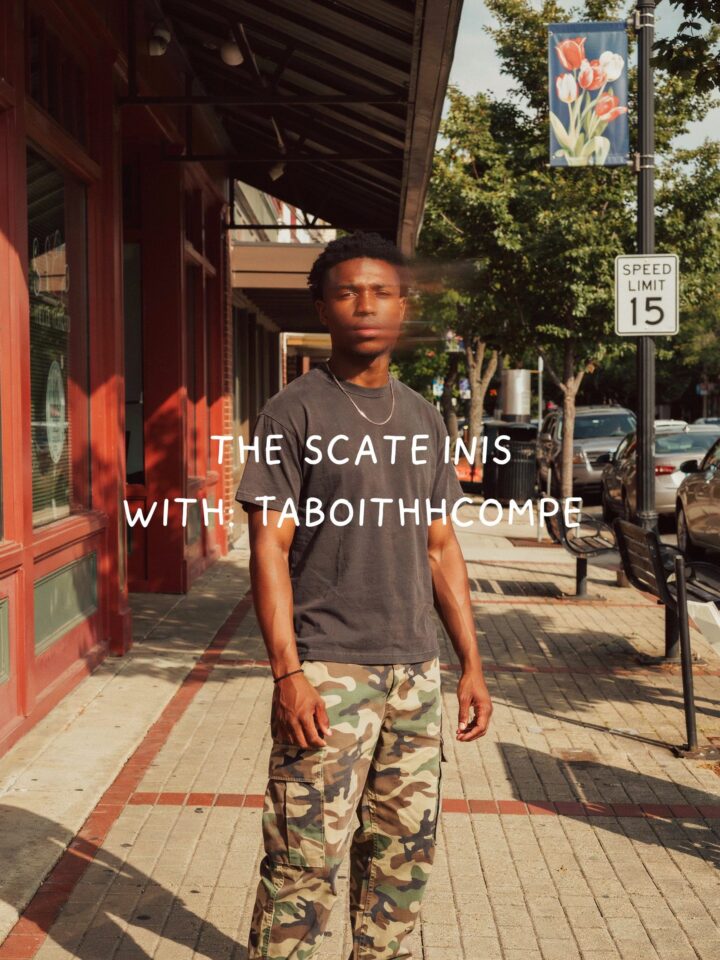
There is nothing worse than flipping through a batch of photos after a long shoot and realizing half the faces look like soft, out of focus blobs. I have been there more times than I want to admit, especially during fast paced sports games or quick streetwear sessions where autofocus just cannot keep up. That is exactly why I put together this blurry face edit Lightroom preset. It is not magic, but it gets scary close. I designed it to pull detail back from those almost sharp images without ruining the natural skin texture. This guide walks through the most common mistakes people make when trying to fix blurry photos and how this preset (plus a few tweaks) saves the day.
Mistake 1: Overusing the Clarity Slider to Fix Blurry Photos
When a photo is soft, the first instinct is to yank the Clarity slider to the right. I did it for years. It works okay for gritty streetwear edits where you want texture, but for faces it turns skin into a crusty mess. Clarity boosts midtone contrast and sharpens edges, but it also amplifies noise and creates halos around hair and jawlines.
Instead of heavy clarity, the blurry face edit Lightroom preset uses a smarter combo of sharpening radius and local contrast in the Detail panel. You get definition without the crunchy skin look. For sports shots with motion blur, a little clarity is fine, but keep it under 15. For portraits or casual candids, keep it under 10.
How to Use the Blur Save Preset Without Ruining Skin Texture
This is where most Lightroom users mess up. They apply a sharpening preset globally and call it done. Skin texture ends up looking like sandpaper. The trick is to mask the sharpening so it only hits the edges (eyes, lips, fabric details) and leaves skin smooth.
Here is how I set up the blur save preset for natural results:
- Sharpening Amount: 60 to 80 (depends on how soft the original is)
- Radius: 0.8 (higher radius creates halos, lower keeps it clean)
- Detail: 30 (brings back texture in hair and fabric, but not pores)
- Masking: hold Alt/Opt and drag to see white edges only. I usually set it around 40 to 60.
That masking step is what separates a plastic edit from a natural fix. Take the extra 10 seconds every time. Your streetwear edits will look sharp without that fake HDR skin.
Why Your Lightroom Presets for Blurry Faces Might Be Adding Noise
Another common mistake is cranking up the Luminance noise reduction slider to combat the grain that comes with heavy sharpening. That kills detail in the eyes and fabric creases. A good photo fix preset should balance sharpness and noise, not trade one for the other.
For the blurry face edit preset, I keep Luminance noise reduction low (around 15) and use Color noise reduction instead (around 25). Color noise is the ugly red and green speckles in shadows. Knock that out first, then the luminance grain actually looks like film texture. If you are shooting sports in high ISO, add a tiny bit of Luminance noise reduction (10 to 15) but do not go over 30 or you lose all the subtle face shapes.
Streetwear and Sports Photos: Adjusting the Preset for Different Lighting
A one size fits all preset rarely works for both a sunny basketball game and a moody streetwear shoot under a bridge. The blurry face edit Lightroom preset is designed with a baseline, but you should adjust the Exposure and Texture sliders based on the scene.
For sports shots with harsh shadows (think backlit players): add +0.3 to +0.5 exposure and lower the Shadows to bring back contrast. This prevents the preset from making faces look flat. For streetwear photos with low light and neon signs: pull Highlights down around 20 and boost Texture to 15 to bring out the fabric weave and hair details. The preset already includes a subtle tone curve, so you rarely need to touch contrast.
The One Setting Beginners Forget in Their Photo Fix Workflow
Almost every article about fixing blurry photos talks about sharpening and clarity. Few mention the Transform tool. If your subject was moving and the camera was slightly tilted (common in fast sports and street photography), the blur looks worse because lines are not straight. Fixing perspective sharpens the appearance of the whole image.
In Lightroom, go to Transform and click Auto. For sports shots on a field, that usually corrects the horizon. For streetwear, it straightens storefronts and pavement lines. After you apply the blurry face edit preset, run Transform. The difference is subtle but real. It takes the photo from looking cropped and rushed to intentional and clean. Do not skip this step.
How to Batch Fix Blurry Faces in Lightroom Without Losing Patience
If you shoot a whole event, you might have 30 soft photos out of 200. Nobody wants to edit each one individually. Here is a workflow that saves time and keeps results consistent.
- Select all the blurry photos (use the Pick flag or star rating)
- Apply the blurry
#blurryfaceedit #lightroompresets #photofix #blursave #streetwearedit
Leave a Comment