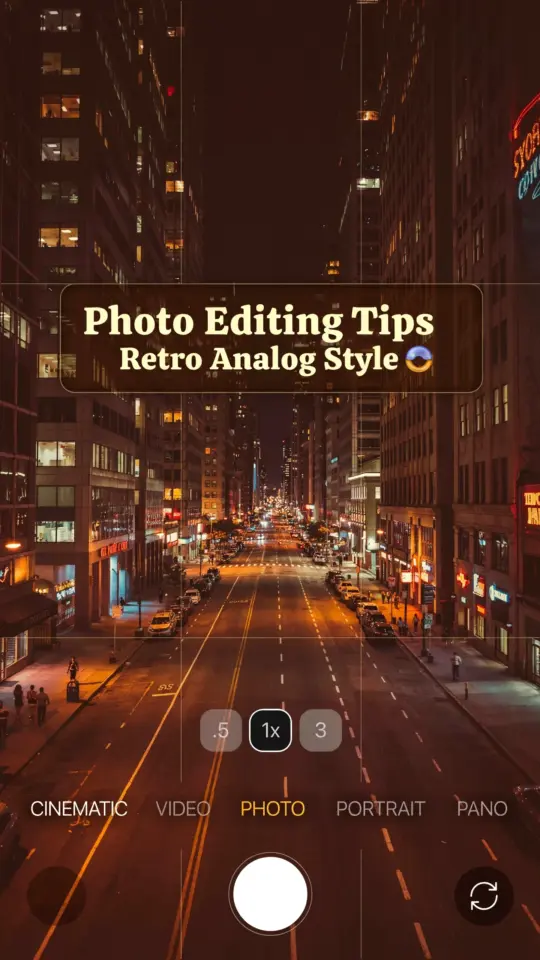
I used to think photo editing could fix anything. But after countless hours of tapping and swiping on my iPhone, I realized that the real magic happens before you open an editing app. These mobile photography tips for better edits and photo editing on iPhone are the ones that completely changed my workflow and the quality of my images. They are simple, practical, and based on what I actually tried and tested over the past two years.
How to Capture Sharp Images on Your iPhone
Sharpness starts in the camera, not the editor. I learned this the hard way when I tried to rescue blurry photos with sharpening tools. They looked artificial and noisy. Now I always lock focus before shooting. Tap the screen where you want the sharpest point, then hold your finger until you see AE/AF Lock. That single step cut my editing time in half.
Another habit that worked: use the volume button to take the photo instead of tapping the screen. It reduces camera shake. For low light, I brace my elbows against my ribs or lean against a wall. I never use digital zoom. Cropping later gives cleaner results. If you want crisp edges, shoot in the brightest part of the day or find good window light.
The Best Editing App Workflow for Consistent Results
After trying a dozen apps, I settled on a simple combo. I shoot in the default Camera app, then do my main edits in Apple Photos (the built-in one). For fine tuning, I open SnapSeed. That might sound boring, but it keeps my edits fast and consistent. Here is my actual step by step process:
- Start in Photos. Adjust exposure and brilliance by small increments. Never more than +0.3 or -0.3 at a time.
- Tap the auto enhance button first. I use it as a baseline, then manually tweak from there.
- Switch to SnapSeed for selective adjustments. I bump up the structure slider on faces or important details, but only to about +10.
- Export as JPEG with maximum quality. I never save over the original.
This system lets me edit a single photo in under two minutes. That speed matters when you shoot fifty images on a walk. The key is knowing which tool does what and sticking to your favorites.
Simple Exposure and Contrast Fixes That Actually Work
Most mobile photos look too flat or too bright. My fix is boring but effective. I lower the exposure slider by a tiny notch, then raise the brilliance slightly. This pulls detail back into the sky and shadows without making the photo look processed. I also add a small amount of contrast. On the iPhone Photos editor, I push contrast to about +8 or +10. That is enough to give depth without crushing blacks.
One trick I swear by: use the black point slider. I drag it to the left until the darkest part of the image is almost pure black but not clipped. That makes colors pop naturally. I rarely touch the white point. It blows out highlights too easily. If you want a warmer look, slide the warmth to +5 instead of cranking it. Small moves, big results.
Color Correction Tricks That Keep Photos Natural
Color is where most beginners overdo it. I used to slide saturation way up, then wonder why my photos looked like cheap filters. Now I use the vibrancy slider instead of saturation. Vibrancy boosts muted colors while leaving skin tones alone. In Apple Photos, that slider is called “saturation” but behaves more like vibrancy if you go easy on it. I keep adjustments under +15.
Another specific trick: fix white balance by tapping on a neutral area of the photo. In SnapSeed, I use the eyedropper tool on something white, like a cloud or a wall. That corrects the orange or blue tint instantly. For sunsets, I leave a bit of warmth because that is the mood I want. The goal is to make the photo look the way my eyes saw it, not better than reality.
Cropping and Straightening: The Most Underrated Edits
I used to skip cropping because I thought it was just
#photography #mobilephotography #phototips #editingtips #smartphonephotography
Leave a Comment