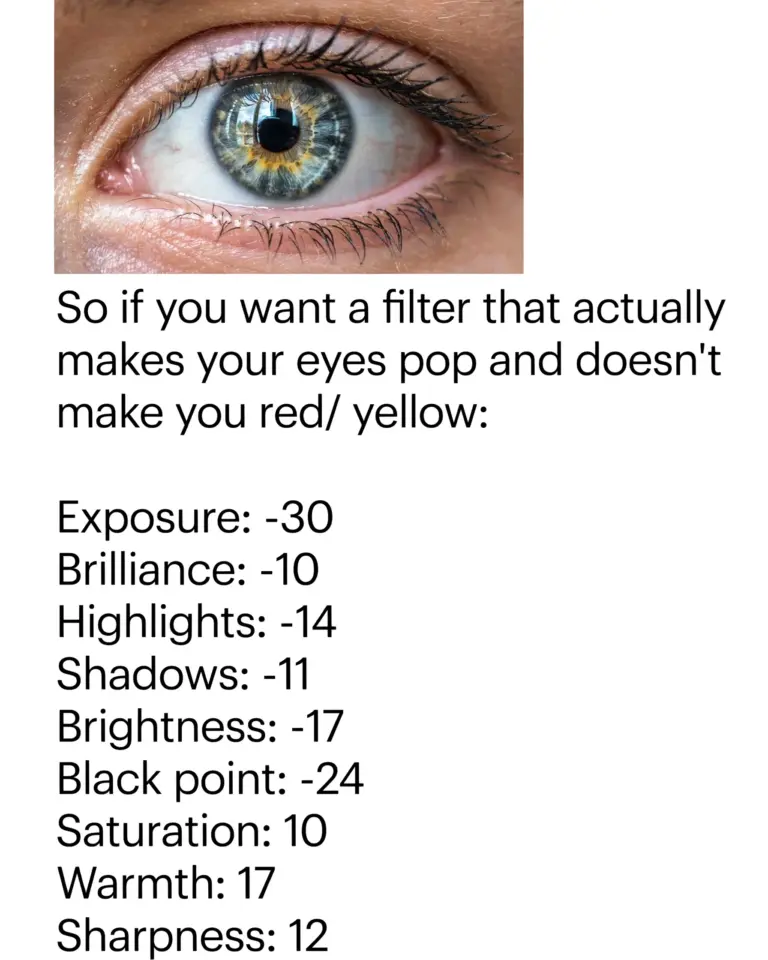
If your social media photos look flat or dull, you are not alone. Most phone photos come out a little gray and soft, especially if you shoot indoors or on cloudy days. That is exactly where PhotoEditingTips come in handy. With just a few taps in Lightroom Mobile, you can brighten and sharpen your images instantly, no laptop needed. I use this app for every Instagram and Pinterest post, and I promise it is simpler than you think. Today I will walk you through a fast brightness and sharpness trick that turns blah photos into crisp, eye-catching ones in seconds.
Why Social Media Photos Need a Little Boost
Phone cameras are great, but they often underexpose to preserve highlights. That means your image may look slightly dark or washed out, especially on a bright screen. Social media platforms also compress images, which can soften details. Giving your photo a quick brightness and sharpness adjustment helps it survive that compression and still look clean. Even a small bump makes a big difference in how people scroll past or stop to click.
Think of it like this: a flat photo is like a quiet voice in a noisy room. A bright, sharp image is the friend who leans in and says, “Hey, look at this.” That is the goal of SocialMediaEditing for beginners.
The Brightness Trick That Takes Two Seconds
Open your photo in Lightroom Mobile. On the bottom toolbar, tap the Light icon (it looks like a little sun). The first slider you see is Exposure. Drag it slightly to the right, between +0.2 and +0.5. That alone lifts the whole image without blowing out the whites. Then bump up Contrast by +10 to +15 to bring back some depth. This one-two combination is my go-to Lightroom mobile brightness hack.
Do not go overboard. If you push Exposure too far, the sky or skin might turn white and lose texture. Stop the moment the image looks naturally lit, like how you remember the scene. For dark photos taken indoors, I sometimes add +0.7 and then lower Highlights a bit (about -10) to protect the brightest areas. It takes more time to describe than to do.
Sharpening Without Making Things Look Fake
Sharpness is the secret to making a photo feel professional. In Lightroom Mobile, scroll to the Effects section (the star icon) and find the Sharpening slider. A little goes a long way. I usually set it between 25 and 40 for social media images. The key is to also use the Radius slider (just below it) at the default 1.0, or bump it to 1.2 if the photo is soft. This controls how far around each edge the sharpening happens.
For a more natural look, add a tiny bit of Texture from the same panel. Texture enhances details like fabric, grass, or wood grain without making skin look plastic. I add Texture around +5 to +10. These are my quick sharpening tips Lightroom mobile users swear by.
A Simple Workflow for Instagram and Pinterest Creators
Here is the exact order I use every time for Instagram photo editing workflow. It works for both square and vertical images:
- First, crop and straighten the photo (the crop tool is in the bottom menu).
- Then go to the Light panel and adjust Exposure, Contrast, and Whites.
- Next, tap the Effects panel and add Sharpening and Texture.
- Finally, tweak the Color panel if needed: increase Saturation by +5 or use the Vibrance slider for a more subtle boost.
- Save the edit as a preset by tapping the three dots in the top right and choosing “Create Preset.” You can use it on all future photos for a consistent look.
That whole process takes less than a minute once you get used to the sliders. If you take a lot of similar photos (for example, flat lays or food shots), a preset will save you hours over a month. Trust me, my fingers know exactly where to drag now.
Common Mistakes New Editors Make (and How to Avoid Them)
When I first started editing on my phone, I made every mistake in the book. Here are the most frequent ones I see, along with fixes. These are your common photo editing mistakes to watch out for:
- Over-brightening: Pushing Exposure past +1.0 makes the photo look washed out and unnatural. Keep it under +0.8 unless the original is very dark.
- Sharpening too much: Above 50 can create ugly white halos around edges. Stay between 20 and 45 for most images.
- Ignoring the histogram: The little mountain graph shows if your highlights are clipping.
#PhotoEditingTips #LightroomMobile #SocialMediaEditing #PhotoHacks #EditingTutorial
Leave a Comment