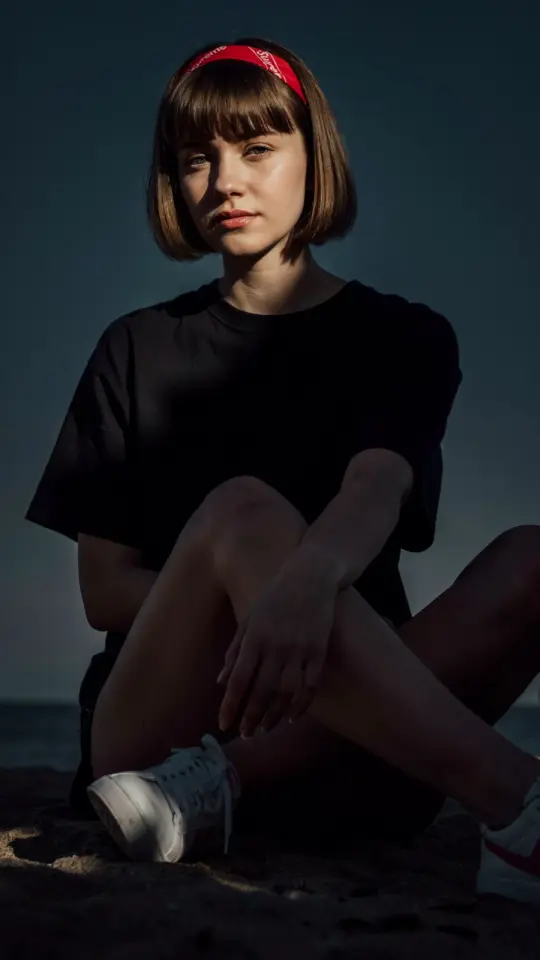
If you have ever scrolled through endless filter options looking for that perfect summer vibe, you know how frustrating it can be when nothing quite matches your vision. That is where the photo filter with adjust tool in PicsArt becomes a game changer. Instead of relying on generic presets, you can create your own custom look that gives every image a warm, consistent feel. Think of it as building a personal summer filter that works on any photo, from beach candids to brunch flat lays.
Why build your own custom summer presets in PicsArt?
Pre made filters are convenient, but they rarely account for the unique lighting and colors of your specific photos. When you create your own presets, you take full control over brightness, contrast, and saturation. This is especially useful for summer shoots where harsh sunlight and vivid colors can vary wildly between shots.
By crafting a signature preset, you also save time later. Once you have a look you love, you can apply it to an entire batch of images in seconds. No more manually tweaking each picture or hunting for the right filter. Your custom preset becomes your go to tool for maintaining a cohesive Instagram feed or a consistent portfolio.
Getting started with the Adjust tool in PicsArt
Open any photo in PicsArt and tap on the Adjust tool. It is usually located in the bottom toolbar, between Effects and Crop. The Adjust menu gives you sliders for brightness, contrast, saturation, and several other fine tuning options. Do not feel overwhelmed by the number of sliders: you only need a few to build a clean summer preset.
Start with a photo that has decent natural light. It is easier to adjust a well exposed image than to rescue a dark or blown out one. If you plan to use the preset on multiple photos, choose a reference image that represents the typical lighting you work with, like a midday outdoor shot with some green foliage and blue sky.
- Brightness: controls overall lightness or darkness.
- Contrast: affects the difference between shadows and highlights.
- Saturation: makes colors more or less vivid.
- Highlights and Shadows: fine tune the brightest and darkest parts.
Adjust brightness and contrast for a balanced summer look
Summer photos often suffer from overexposed highlights or muddy shadows. Use the brightness slider first. For a warm, airy feel, push brightness up by 5 to 10 points. Be careful not to lose detail in the white areas. Then move to contrast. A slight increase of 8 to 12 points can add depth without making the image look harsh.
If your photo has too much glare from the sun, dial back the highlights slider by 10 to 15 percent. This restores texture to sky and skin tones. On the other hand, if your shadows look too dark, lift them gently by 5 to 8 points. The goal is a balanced exposure that still feels bright and fresh, not flat.
Fine tuning saturation and color balance for a true summer filter
Saturation is where your preset starts to feel warm and seasonal. For a classic summer filter, increase saturation moderately, around 10 to 15 points. This brings out the greens in grass and the blues in water without making skin tones look orange. If you prefer a more muted vibe, keep saturation at 0 or even lower it by 5 points for a faded film look.
PicsArt also lets you adjust color balance under the Warmth slider. Moving it slightly toward warm (a few points) adds a golden glow that mimics early evening light. For a cool summer aesthetic, keep warmth neutral or slightly cooler. Play with the tint slider as well: a tiny magenta shift can reduce greenish casts from foliage.
Saving and applying your custom filter preset in PicsArt
Once you are happy with the adjustments, tap the checkmark to apply them. Then look for the Presets button near the top of the Adjust menu. It looks like a small icon with three horizontal lines. Tap it and select Save current adjustment. Give your preset a name like “Summer 2025” or “Beach Glow.”
Now you can reuse this preset on any image. Open a new photo, go to Adjust, tap Presets, and choose your saved preset. It will apply all the same brightness, contrast, and saturation settings instantly. You can also tweak it further if the new photo has different lighting. The saved adjustment acts as a starting point, not a rigid rule.
Batch editing tips for a consistent look across your gallery
When editing a series of summer photos, try to group them by lighting conditions. For example, edit all your bright midday shots first with the same preset, then adjust the shadows and highlights slider slightly for darker indoor shots. This keeps your overall aesthetic consistent while respecting each image’s unique exposure
#filter #filters #summerfilter #presets #picsart
Leave a Comment