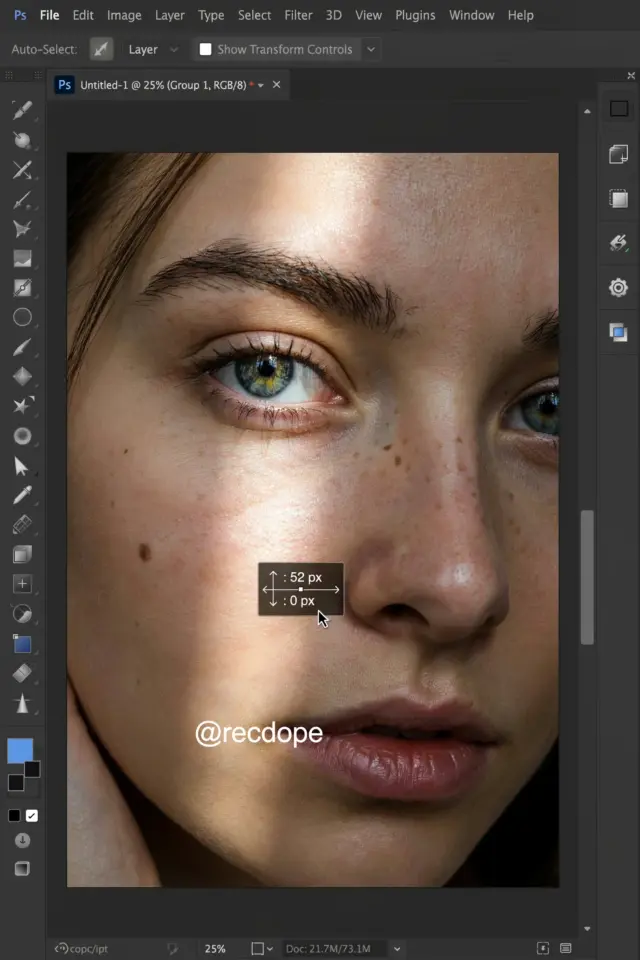
I remember the first time I tried a Photoshop layer mask. I was twenty two, editing a portrait and I had spent an hour carefully erasing a messy background. Then I realized I needed that background back. Too late. That is when I finally understood why everyone kept talking about non-destructive editing. If you have ever felt frustrated by permanent changes, this guide is for you. A Photoshop layer mask is the single most important tool for beginners who want to edit fearlessly. Let me walk you through exactly how I learned to use it, and how you can too without the headache.
What is a Photoshop layer mask and why I avoided it for years
Honestly, the name sounded intimidating. A mask? I thought it was something for advanced graphic designers. But a Photoshop layer mask is just a way to hide parts of an image without deleting them. Think of it like a digital stencil. You paint black on the mask to hide, white to reveal. Nothing is ever erased. I avoided it because I thought it was complicated. The truth is, it is one of the simplest features in Photoshop once you try it. You can undo anything, change your mind weeks later, and never lose a single pixel.
For beginners, this is a game changer. If you have ever used the eraser tool and regretted it, layer masks are your answer. They are the foundation of professional photo editing and compositing. And the best part? You do not need to understand fancy algorithms. You just need a brush, black and white paint, and a little patience.
The moment it clicked: my first non-destructive edit
It happened on a lazy Sunday. I had a photo of my dog with a boring carpet behind him. I wanted to replace the carpet with grass. Usually I would erase the dog, blend poorly, and give up. This time I added a layer mask. I painted black over the carpet area and suddenly the layer below showed through. When I made a mistake and erased part of the dog, I just switched to white paint and brought him back. No Ctrl+Z spamming. No panic. That was the moment I realized every beginner should start with masks.
Step by step: creating your first layer mask
Open any image in Photoshop. Duplicate the background layer by pressing Ctrl+J (or Cmd+J on Mac). This is your safety net. Now add a layer mask. There are two ways: click the mask icon at the bottom of the layers panel (a rectangle with a circle inside), or go to Layer > Layer Mask > Reveal All. A white thumbnail appears next to your layer. That mask is currently transparent, showing everything.
- Select the brush tool (B key). Make sure your foreground color is black.
- Paint over the area you want to hide. The image becomes transparent there. Do not worry about perfection.
- Switch to white (press X to swap foreground/background colors) and paint over any spots you accidentally hid.
- Use a soft brush for smooth edges. Hard brushes create sharp cuts. Adjust opacity of the brush for gradual fades.
That is it. You just did non-destructive editing. The erased pixels are still there, just hidden behind the black mask. You can go back and change things later with no penalty.
Two essential techniques: hide all vs reveal all
Your first mask was a Reveal All mask (white). That is good for most cases. But sometimes you want to start with everything hidden and then reveal only what you need. That is a Hide All mask. Create it by holding Alt (Option on Mac) while clicking the mask icon. The mask turns black. Now paint with white to bring parts back. I use this for adding things like birds to a sky or logos to a shirt. It gives you total control from scratch.
I once messed up a composite because I started with a white mask and struggled to hide tiny edges. Switching to a black mask and painting in the details saved me twenty minutes. Try both methods on simple projects to see which feels natural.
Pro tip: painting with black and white (and why gray matters)
Beginners think masks are only black or white. Gray is where the magic hides. When you paint with gray on a mask, you create partial transparency. A 50% gray gives you 50% opacity. This is perfect for blending edges, creating soft shadows, or fading text into a background. I use a low opacity brush (20 to 30 percent) and paint gray over hard lines to make composites look real. Do not ignore gray. It is the secret to professional photo editing.
Here is a quick trick. To get perfect gray, set your brush opacity to 50% and paint black or white. The result is gray on the mask. You can also pick a specific gray from the color picker, but the brush method is faster.
Common beginner mistakes (and how I fixed them)
I made every mistake in the book. First, I painted directly on the layer instead of the mask thumbnail. Always click the mask thumbnail first. If you paint on the image, you are just painting colors, not hiding anything. Second, I used a hard brush with jagged edges. Soft brushes with 0% hardness give natural fades. Third, I forgot to duplicate my original layer. Do not work on the background layer. Always keep an untouched backup. Fourth, I tried to mask hair without practice. Hair needs a separate technique (refine edge or select
#PhotoshopLayerMask #PhotoshopTutorial #PhotoEditing #BeginnerPhotoshop #NonDestructiveEditing
Leave a Comment