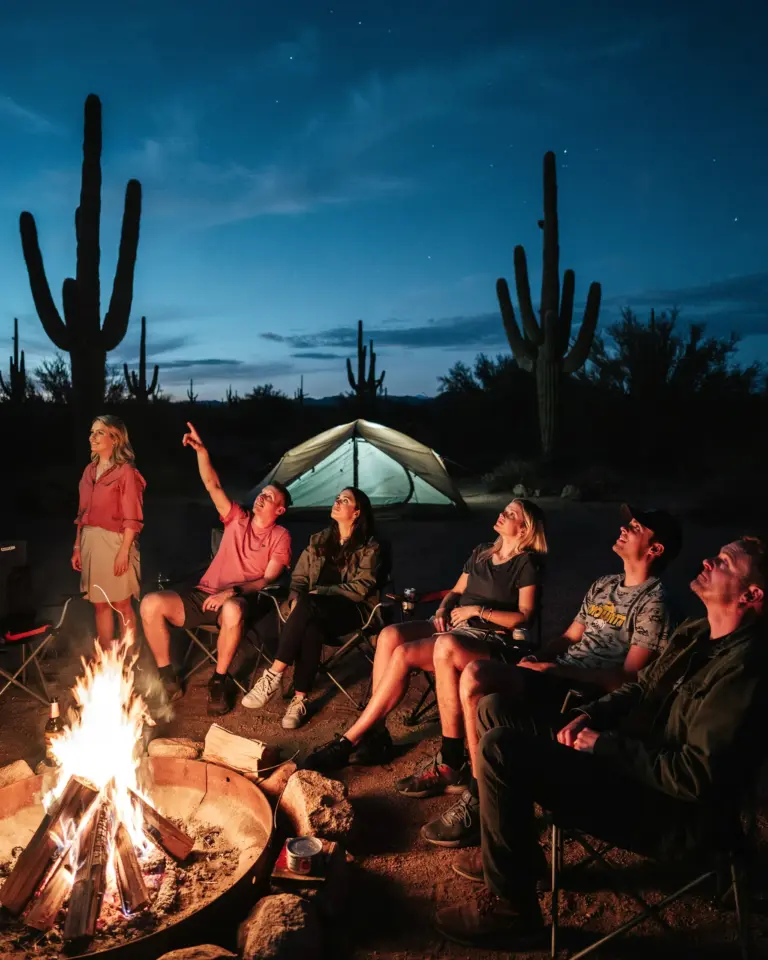
There is something special about group travel photography. When you manage to capture a dozen friends laughing in front of a sunset, it feels like pure magic. But editing that group shot later can feel like a puzzle. That is where good group travel photography editing comes in. I have learned that the secret to making everyone look their best is not about filters, it is about planning edits around the people in the frame. Below I am sharing six distinct editing themes I have used on real trips. Each theme solves a common problem when you travel with a big group.
Consistent Color Palettes Across Different Lighting
One of the biggest headaches with group travel photos is mixed lighting. One person stands in shade, another in full sun, and the background has a totally different temperature. A consistent color palette fixes this. Start by choosing a neutral white balance target, like a white shirt or a cloud. Apply that same white balance across all photos taken at the same location.
I personally like to warm up the shadows slightly and cool down the highlights. This creates a gentle split tone that feels natural but still cohesive. For large groups, I avoid strong color casts like deep teal or heavy orange. They tend to look unnatural on skin tones. Instead, aim for a soft, even palette that makes everyone glow the same way.
Batch Editing Exposures for Mixed Skin Tones
When you have a mix of fair and darker skin tones in one shot, a single exposure adjustment can make some people look washed out or too dark. Batch editing exposures helps here, but you have to do it thoughtfully. Instead of raising the overall exposure, use the tone curve to lift shadows while controlling highlights.
- First, adjust the exposure so the brightest face looks natural (avoid clipping highlights).
- Then, use the shadow slider to bring up the darkest skin tones without blowing out the background.
- Finally, apply a local brush with a small feather to brighten or darken specific faces by +0.3 to +0.5 stops.
This method keeps everyone visible and natural. I have used it on a 15-person beach photo where two friends had very different skin tones. The result looked like we all sat in the same light.
Cropping Out Crowds Without Losing the Vibe
Popular travel spots are packed with strangers. A simple crop can remove photobombers, but you have to be strategic. Rule one: never crop out the feet of the people in the front row unless you are going for a tight portrait. Instead, crop from the top, sides, or bottom of the frame, leaving about two inches of space below the lowest shoes.
If the background crowd is unavoidable, consider a vertical crop that focuses on the group from the waist up. This eliminates the chaos behind them while keeping the intimacy of the group. I once had a photo in front of the Eiffel Tower with 30 tourists visible. A 2:3 vertical crop turned it into a clean group portrait. The vibe stayed because the sky and monument top remained in frame.
Removing Distracting Background Objects One by One
Crop alone does not always fix distractions. A stray lamppost, a trash can, or a passing car can steal attention. Use the healing brush or clone stamp tool to remove one object at a time. Start with the most obvious distractor near the head of any person. That is where the eye goes first.
For large groups, I work in layers: remove objects near faces first, then work outward. Do not try to remove everything at once. Leave small, neutral objects like distant trees or clouds, they add depth. I learned this the hard way after spending two hours removing every leaf from a park background. The group looked floating. A few natural elements keep the photo grounded.
Using Presets to Speed Up Large Batch Edits
When you have 50 group photos from a single day, edited each individually can take hours. Presets are your best friend. Create one custom preset for the whole trip, or
#GroupTravelPhotography #PhotoEditingTips #AestheticPhotography #TravelWithFriends #PhotoEdits
Leave a Comment