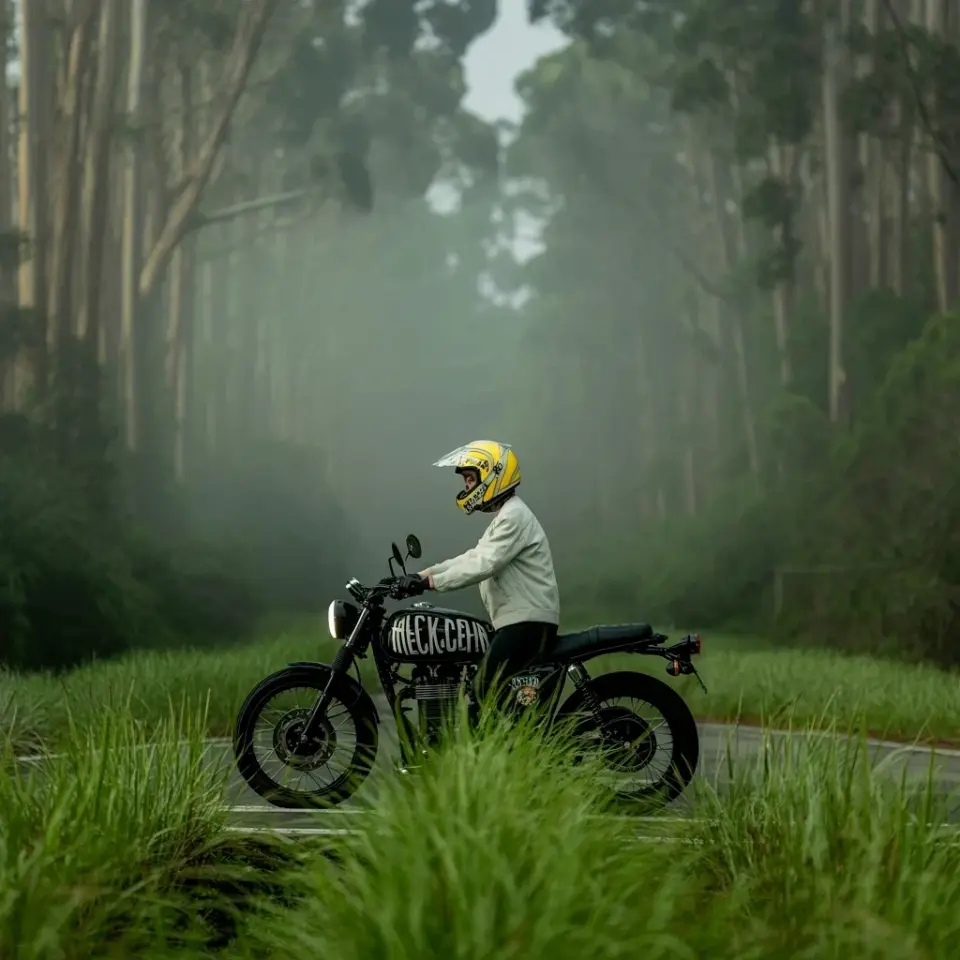
You just got back from a solid ride. Sun is setting, your bike looks clean, and you snap a few shots. Then you import them to your laptop. Flat, bland, and missing that raw edge. It’s frustrating. Honestly, I’ve been there. That’s exactly why I put together this free Lightroom moody biker preset download. It saves you time and makes your photos look like a premium editorial without draining your wallet. And it’s a total lifesaver if you edit on a budget.
Why spend money on presets when you have a free option?
Look, I get it. The Adobe subscription alone feels like a punch in the gut every month. Paying another $50 for a pack of presets on top of that? No thanks. I’ve tested dozens of paid packs and honestly, half the sliders just create a mess you have to fix anyway.
So I built this set of adjustments myself. It is specifically tuned for bikes that need a darker, aggressive tone. It works with standard Lightroom Mobile too if you are stuck on the go. Zero cost. No hidden Google Drive paywalls. This approach keeps your money where it belongs. In your pocket or spent on gas for the next ride.
One more thing. I don’t know why preset makers charge $15 for a pack of five when usually only one or two of them work. Really bothers me. So I skipped that whole game entirely.
Gritty biker aesthetics without the high price tag
Let’s break down what this file actually does to your image. The core of this preset is the tone curve. It drops the shadows hard but leaves the midtones intact so your bike doesn’t just turn into a black hole.
Clarity jumps up to around +25. Texture sits softly at +10. And here is the trick that took me ages to figure out. It desaturates greens and cyans by a lot. Why? Because streetlights, grass, and random background foliage always look way too bright in standard profiles. That brightness kills the mood instantly.
It pushes your blacks down without ruining the reflections on your chrome or paint. If you have matte paint you are going to love what this does to the finish.
Shoot smarter so your edits hit harder
A preset can only take you so far. If you shoot at high noon with harsh top down light, this file will struggle to save it. That is not a flaw. That is physics.
Wait for golden hour. Even better, shoot on a heavy overcast afternoon. The flat light will transform immediately into something dark and cinematic once you apply the adjustments. Use low angles. Get the ground in your frame. Crouch down and make the bike look massive against that concrete or asphalt texture.
Avoid shooting from eye level. It makes the composition look lazy and the preset won’t fix that composition problem.
Three pitfalls to avoid with dark bike presets
I see the same mistakes over and over. So let me save you some headache.
- Crushing shadows to pure black. This kills all depth in the frame. Leave a tiny bit of detail in the tire tread. You want shadow, not a void.
- Forgetting about skin tones. Seriously, push the orange luminance up slightly. A grey faced rider looks sick, but not in a cool way. It looks like you forgot to edit them.
- Neglecting the masking slider. If you use this on a noisy shot, crank the Masking slider in the Detail panel to at least 60. It saves your sky from looking like static on an old TV.
Also, don’t apply it to underexposed images and walk away. Back the Exposure off by +0.3 if the file goes too dark. Every shot is different, even if they look similar on the back of the camera.
Using this preset for Instagram and portfolio work
This free biker preset creates a consistent look across your feed. That is the main goal. You want people to scroll and immediately recognize your style. The dark, gritty look stands out against the typical bright and airy photos that flood social media.
I use it for portfolio uploads too. It gives the images a cohesive feel that looks intentional. Not like a random filter was thrown on at the last minute. You can batch apply it in Lightroom Classic to cut down on editing time. Just sync the settings and you are done in five minutes.
How to install the preset and make it yours
The download file comes as a standard .xmp format. It works with Lightroom Classic, Lightroom CC, and Adobe Camera Raw. Drop it into your Develop Presets folder. Restart the app. Simple.
I recommend creating a folder in your presets panel called “Moody Biker” so you don’t lose it among 200 generic options. After you apply it, tweak the Temp slider. Knock it cooler if the whites feel too yellow. Adjust the Exposure to match your specific lighting conditions.
Go ahead, load it up and see what your bike looks like with a real attitude adjustment. It is completely free and ready to download right now.
#LightroomPresets #MoodyPhotography #BikerPreset #FreePreset #PhotographyOnABudget
Leave a Comment