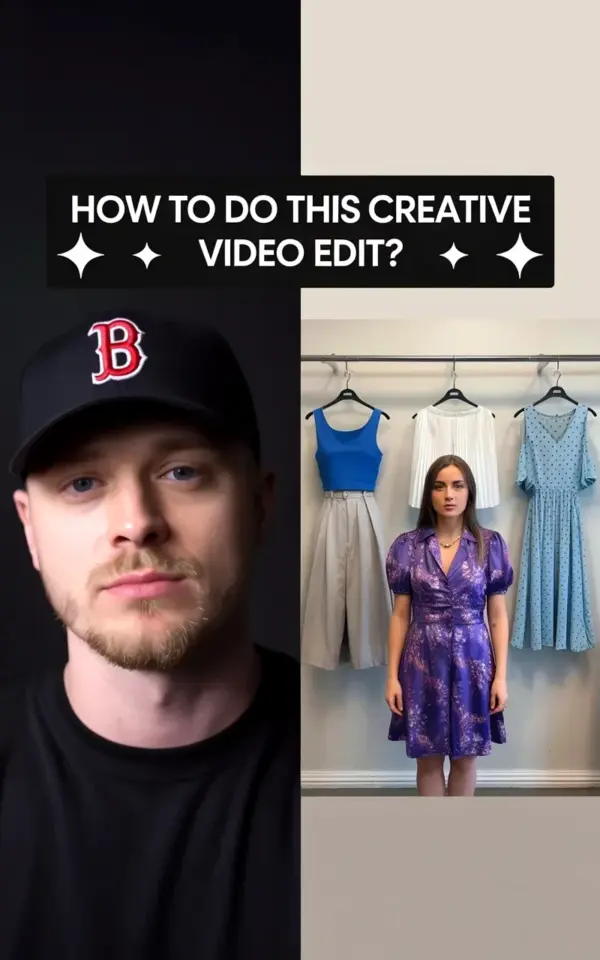
Look at the split screen on your screen right now. Left side is a guy in a black baseball cap with a red B, sitting against a dark wall. Right side is a woman in a purple floral dress, standing in front of a white wall with a blue sleeveless top and a couple other pieces on display. That gap between the two halves is exactly what this Photoshop tutorial is for. I’m going to walk you through how to edit a fashion photo in Photoshop, using tools you already have, without buying a single preset or plugin.
The thumbnail that brought you here isn’t just a pretty graphic. It’s a promise: we can take a flat, lifeless capture and turn it into something that makes you stop scrolling. And honestly, the split screen before & after method is the smartest way to keep yourself honest while you work. You’ll see every mistake, every over-correction, and every small win as it happens.
Why a Split Screen Before & After Is the Smartest Way to Work
When you edit on one image alone, it’s easy to think you’re doing great until you look at the raw file an hour later and realize you’ve turned the dress into a neon sign. Putting the before and after side by side keeps you grounded. In Photoshop, simply open your raw image, then open a duplicate copy and place them next to each other on separate layers. Or, if you prefer, use the same image in two windows by going to Window > Arrange > New Window for your file.
I like to keep the original untouched and work on a duplicate layer. That way I can toggle the little eye icon on the layers panel to flip between the two. But for this tutorial, we’re building one single image that shows both sides, exactly like that thumbnail. That split screen is also what you’ll export for your YouTube thumbnail or Instagram post.
The Budget-Friendly Toolbox You Actually Need
Ok so here’s the thing: you don’t need the newest Adobe subscription or a fancy tablet. I did this exact edit on a 2015 MacBook Air with Photoshop CS6. If you’re on a tight budget, even GIMP or Affinity Photo can do most of these steps. The method matters more than the software.
Here’s what I actually used for this edit:
– A curves adjustment layer with a white point eyedropper tool
– A hue/saturation adjustment layer with a targeted color range
– A healing brush to spot out little marks
– A gaussian blur on a duplicate layer for gentle skin smoothing
– Smart Sharpen and a tiny bit of noise for texture
That’s it. No expensive actions, no overpriced presets, no crazy filters. Just the basic tools that have been in Photoshop for a decade.
Step 1: Match Exposure and White Balance to Fix That Off-White Wall
The first thing that makes the right side of the thumbnail look so clean is that white wall. If your original photo has a wall that’s more like a dirty beige, you need to correct the white balance. Start by adding a Curves adjustment layer. Then click on the white point eyedropper tool, which is the little dropper with a white square next to it in the options bar. Find a genuinely white area in your photo, not a bright spot or a highlight, but something that should be neutral. Click on it.
That one click will shift the entire color cast. If the wall still looks a little dull, pull up the curve slightly in the middle to brighten the whole image. Then, if the dress or skin starts to look too washed out, you can mask the adjustment layer and paint it out where it’s overdoing it. The goal is a bright, airy background, not a blown-out mess.
Step 2: Make the Purple Floral Dress Pop, Not Scream
Here’s the part I love. That purple floral dress with short puff sleeves is already gorgeous, but in a raw photo it can look gray and muted. To make it pop, add a Hue/Saturation adjustment layer. In the drop-down menu that usually says “Master,” select “Purple” or “Magenta” depending on your photo. Then bump up the saturation slowly, maybe to +12 or +15. Watch the fabric, not the background.
I once over-saturated a red dress so badly it looked like it was glowing in the dark. Since then I always pull the lightness down a few points after boosting the saturation. Doing that keeps the color rich without making it neon. Also, use the mask on that adjustment layer to make sure only the dress is affected. If there’s a hint of purple in the background, paint it out with a soft black brush.
Step 3: Smooth Skin Without That Plastic Look
Skin smoothing can go sideways really fast, especially if you run a filter and call it a day. The affordable, non-plastic way is to duplicate your background layer, apply a light Gaussian Blur to the duplicate, then add a layer mask and paint over just the skin. Lower the opacity to around 50 percent or less. For this fashion shot, you only need to soften a few spots, the cheeks, the forehead, maybe the arms.
If you want to be a little more precise without spending on plugins, use the Healing Brush on any little blemishes first. Then do the blur trick. It takes an extra minute but it keeps the skin texture intact. Nobody looks like a doll in real summer light, and they shouldn’t in your photos either.
Step 4: Add the Final Polish With Sharpening and Grain
After smoothing, the image can feel a little soft. That’s where the professional finish comes in. Go to Filter > Sharpen > Smart Sharpen. Use a low radius, something like 1.0 to 1.5 pixels, and an amount around 50 to 80 percent. Zoom in on the dress and the edges of the sleeves to
Leave a Comment