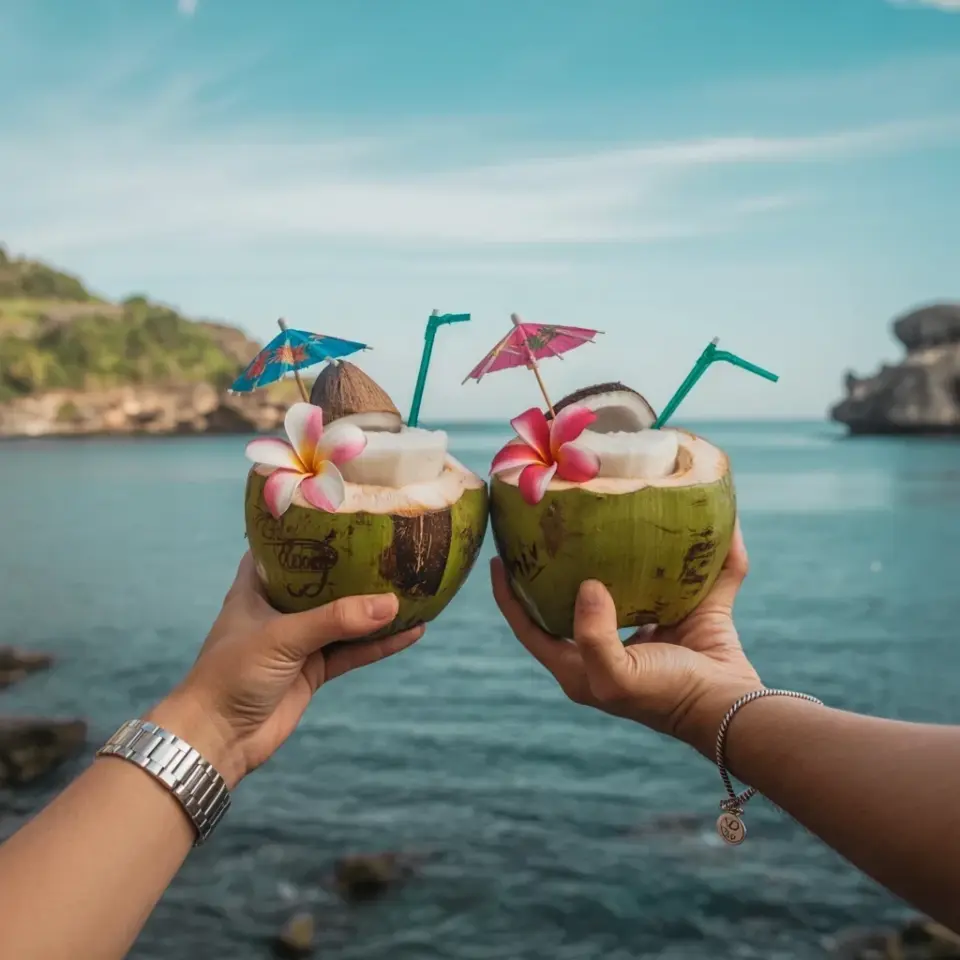
Ok so here is the thing. I have a friend who went to Oahu for a week and came back with photos that looked like they were taken in a parking lot in Ohio. The sun was harsh, the greens were muddy, and the whole thing just felt flat. Meanwhile I was sitting at home with a photo I took at a local park (one sad palm tree and a rusty bench) and I wanted that Hawaii vacation aesthetic. Honestly it took me way too many hours of fiddling with sliders to figure out the trick. But once I did it was like a light switch. You do not need a plane ticket. You just need to know three simple edits: crank warmth, boost greens, add a soft golden glow to the highlights. That is the secret to getting that tropical vibe in any photo. In this guide I will show you exactly how to do it step by step with zero prior knowledge. No jargon. No complicated curves. Just real practical moves that work.
Why Most Travel Photos Look Boring (Even in Paradise)
Here is a hard truth. Cameras lie. They do not see the world the way our eyes do. When you stand on a beach at sunset your brain fills in all the warmth and contrast. But the camera just records raw data. So you get a dull greyish sky washed out sand and palm trees that look like broccoli.
The Hawaii vacation aesthetic is not about luck. It is about nudging those sliders in the right direction. Lightroom (or any decent editing app) lets you fake the way your memory felt. And honestly that is what editing is for. Not to cheat but to translate the mood back into the image.
Look if you have ever tried to edit a tropical photo and ended up with neon grass or a orange face you are not alone. I did that too. My first attempt at the golden glow turned my boyfriend into a Simpson character. The key is subtlety. A little goes a long way. But we will get there.
The First Slider You Need to Touch: Warmth (Also Called Temperature)
Open your photo in Lightroom (or any editing tool) and find the white balance adjustments. There is usually a slider called Temp or Temperature. Slide it to the right. By maybe 10 to 15 points. Not crazy. Just enough to take out the blue or grey.
Most photos from a phone or basic camera lean cool and blueish. That is the opposite of Hawaii. You want a warm golden undertone. Think of the light just before sunset. That honey colored air.
A personal rule of mine: I warm up the photo until the whites look slightly cream colored but not yellow. If the sand starts looking like cheese you went too far. Pull it back a notch.
Also check your skin tones. If people in the photo turn orange dial it down. Use the Tint slider (usually next to Temp) to add a tiny bit of magenta to balance out green shadows. I know that sounds technical but just nudge it until skin looks normal again. Trust your eye.
Make the Greens Pop Without Making Them Look Like Radioactive Slime
Tropical photos need lush green leaves. But boosting greens straight up can turn everything into neon puke. The trick is to target specific shades. Most editing apps let you adjust individual colors. In Lightroom there is a section called HSL (Hue Saturation Luminance). Sounds scary but it is just a set of sliders for each color.
Here is what works for me. Go to the Green slider under Saturation. Push it to maybe +20 or +30. Then go to the Green slider under Luminance (brightness) and pull it down a tiny bit. Darker greens look richer and more natural. Honestly it makes leaves look like they are soaking in a jungle mist instead of a chemical bath.
One weird tip I picked up from a photographer in Maui: also tweak the Yellow slider. Grass and palm fronds often have a lot of yellow in them. Add a little yellow saturation and shift the yellow hue slightly toward green (negative hue). That makes everything feel cohesive and not like two different color palettes fighting each other.
Avoid touching the Orange slider unless you need to correct skin. That one is powerful and easy to mess up. Leave it alone for now.
Soft Golden Highlights: The Difference Between Snapshots and Dreamy Vibes
This is the part that used to confuse me. Highlights are the brightest parts of your photo (the sky, reflections on water, shiny leaves). If you boost them too much you lose detail and get blown out white patches. But if you leave them flat the photo feels dead.
The trick is to add a soft golden glow to the highlights. Here is exactly what to do in Lightroom. Slide the Highlights slider down a tiny bit (maybe -10) to prevent clipping. Then go to the Effects panel and find the Dehaze slider. Push it right just a little (around +5 to +10). Dehaze adds contrast in a warm way that mimics tropical humidity. Weird but true.
Then go to the Color Grading tab (or Split Toning in older versions). Add a warm gold tint to the highlights. In Lightroom Mobile you pick a color near orange-yellow and set the saturation to around 10. Apply it only to highlights. This gives a subtle sheen like the sun is kissing the edges of your photo.
Here is a human detail: I once spent an entire evening trying to match the exact gold tone of a postcard from a hotel lobby in Waikiki. I kept adding more and more orange until the picture looked like a 1970s filter. My husband walked by and said “Is that a photo of a fire?” So I learned to dial it back to maybe 8 or 9 saturation. Real tropical light is warm but not aggressive. Trust subtle.
Putting It All Together: A Step By Step Workflow for Lightroom (Mobile or Desktop)
If you are totally new do not panic. I will walk you through the exact order I use for any photo I want to give that Hawaii vacation aesthetic.
- Step 1: Open your photo. Adjust the Exposure first if the photo is underexposed or overexposed. Usually +0.3 to +0.7 works. Not too bright.
- Step 2: Warm up the White Balance. Move Temp slider right by 10-15. Add a tiny bit of magenta Tint (like +3) if needed.
- Step 3: Increase Contrast a little (around +10) to add depth. Then pull the Highlights slider down by -10 and Shadows up by +15 to open up the dark areas. Flat looking shadows kill tropical vibes.
- Step 4: Go to the HSL panel. Boost Green saturation (+20 to +30), drop Green luminance a bit (-10). Boost Yellow saturation a little (+15) and shift Yellow hue toward green (-5).
- Step 5: Add warmth to highlights via Color Grading. Pick a gold-orange hue for highlights only. Set saturation to around 8-10. You can also add a tiny bit of blue to the shadows if you want a classic tropical sunset look. But only a tiny bit. Like 3 saturation max.
- Step 6: Add a touch of Dehaze (+8) for that humid air look. And maybe a tiny vignette (negative amount for darker corners) to focus attention on the center. Not too much. Just a hint.
That is the whole workflow. I do it in under two minutes now. And the result makes people ask “Where did you take that?!” And I smile and say “A park. But with good editing.”
What About Apps Like Snapseed or VSCO? You Can Still Get the Look
Not everyone uses Lightroom. And that is fine. I use it because I am a nerd but honestly you can do most of this in free apps too. In Snapseed use the Tune Image tool to warm up the temp and then go to Selective to boost green saturation on the leaves. The Glamour Glow filter in Snapseed (set to a very low level) can mimic the golden highlight glow. But be careful. A lot of Glamour Glow will ruin skin.
For VSCO pick a warm preset like A6 or M5 and then tweak the temperature and saturation sliders. The key is always the same: warmth, rich greens, soft gold highlights. The app does not matter. The principle does.
One thing I have learned the hard way is that filters from social media are often too strong. They crush shadows and oversharpen until your face looks like a texture. So do not rely on a single preset. Adjust it. Make it your own. Your photo is unique and your edits should be too.
And if you are really feeling lazy honestly just use the warmth and green boost alone. That alone gets you 70% of the way. The gold highlight touch is the extra 30% that makes people stop scrolling.
Anyway do not stress over perfection. The goal is to make your photo feel like a memory you want to hold onto. Not a postcard replica. If it feels warm and inviting you nailed it.
Now go open your camera roll and try it on a random shot from last summer. Even a picture of a houseplant by a window can look tropical with these moves. Trust me. I have done it with a cactus.
#travelediting #tropicalvibes #hawaiiphoto #photographytips #lightroom
Leave a Comment