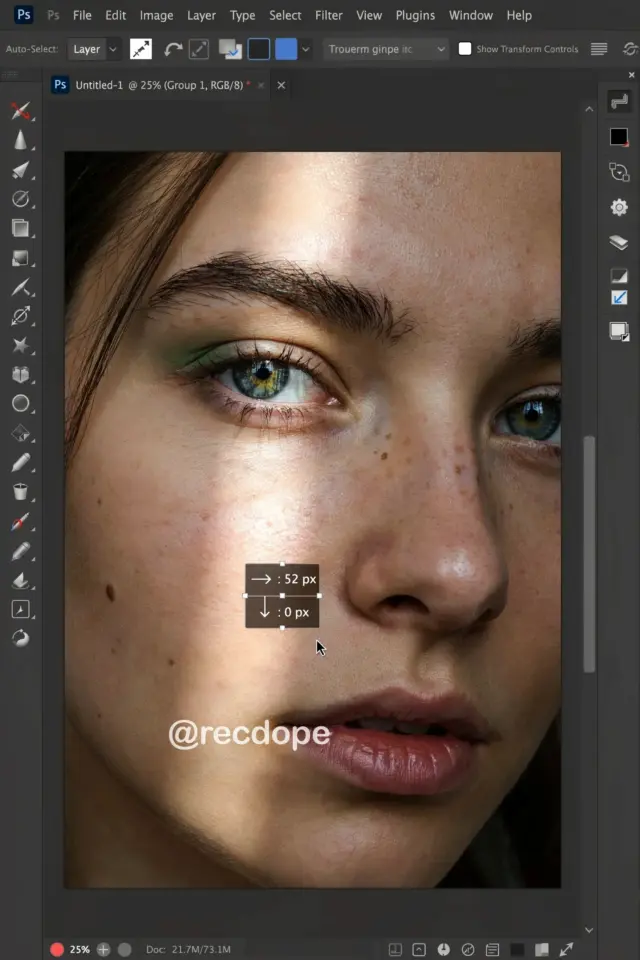
I just tried Photoshop’s new Remove Tool and honestly, it’s wild. Within five minutes I cleaned up a photo that would have taken me fifteen with the old Clone Stamp. No more messy sampling or weird repeating patterns. It just works. And I hate most “new” Photoshop features. So this one surprised me.
Why I ditched the Clone Stamp for this new Remove Tool
I’ve been using Photoshop since the CS3 days. I’m old. I’m set in my ways. The Clone Stamp was my go-to for removing stuff like power lines or a random person walking through the frame. But I always hated the time it took. You’d pick a source point, paint, check the edges, fix a weird seam, repeat. Not anymore.
The Remove Tool is different. It’s part of the spot healing family, but smarter. It uses content-aware fill on the fly, in real time. You just brush over what you want gone and it disappears. No source point. No blending modes. No fuss. I used it on a shot from my local park where an ugly orange cone was totally ruining the foreground. Gone. Like it never existed. Look, I’m not easily impressed, but this tool actually made me happy.
How the Remove Tool actually works (three simple steps)
Here’s the thing: it’s embarrassingly easy. I almost felt guilty using it. Ok so here are the steps.
- Select the Remove Tool from the toolbar (it looks like a bandage with a little eraser, between the Spot Healing Brush and the Patch tool in Photoshop 2024).
- Brush over the object you want to remove. You don’t need to be super precise. Just cover it. A little extra background is fine.
- Let go of the mouse. Photoshop does the rest. The object vanishes, and the background fills in automatically.
That’s it. No extra clicks. No manual blending. If you want to remove something bigger or trickier, you can do multiple passes. But honestly, I’ve had success with a single swipe most of the time. It’s the laziest edit hack I’ve ever used.
The beach photo that sold me on this editing hack
I was editing a photo from a trip to the Oregon coast. Beautiful shot of the shoreline at sunset. But just to the left, this big piece of driftwood was sticking up awkwardly. And behind it, a couple was standing, holding a selfie stick. Ruined the whole mood.
Normally I’d spend ten minutes cloning the sand and water, trying not to make it look like a weird carpet patch. But I opened the Remove Tool, brushed over the driftwood and the couple in a single messy stroke, and let go. Photoshop removed both objects and filled the area with beach. The result? Not perfect, there was a small smudge on the horizon line, but I touched that up with the Spot Healing Brush in two seconds. Total time: maybe forty-five seconds. That’s a specific, real example. It honestly felt like cheating.
What the Remove Tool can delete (and what it can’t)
Let’s get real about limitations. I’ve tested this tool on maybe thirty photos now. Here’s what I’ve found:
- Power lines, telephone wires, branch tips, works like a charm. Huge win for landscape photography.
- Small people or objects in the distance, yes, especially on uniform backgrounds like grass, sky, or pavement.
- Text on signs or logos, hit or miss. If the sign has a simple solid color, it’s fine. If there’s complex texture or a gradient, you’ll get a weird blur.
- Large, complex areas, think half a car or a person in the foreground with lots of detail behind them. The tool can give you strange artifacts. You might need to break it into smaller pieces.
And here’s a weird little aside: I tried removing a reflection of myself in a window. Total disaster. The tool kept trying to fill with other reflections, leaving a ghostly smudge. So don’t expect miracles on glass or water. But for the common annoying stuff? Gold.
Pro tips to get the best results every time
A few tricks I picked up after banging my head against a couple of bad removes. First, don’t be afraid to paint a little outside the object. That gives Photoshop more context to work with. Second, if you get a weird result, undo and try with a smaller brush stroke. Sometimes the tool over-corrects when you include too many different colors.
Third, and this is the tip that changed everything for me: use the Remove Tool on a separate layer. Duplicate your background layer first. That way you can mask or erase any mistakes without destroying the original. Not gonna lie, I forgot this the first time and had to redo a whole edit. Learn from my stupidity.
Also, if you’re removing something from a busy pattern (like a brick wall or a grassy field), try switching the mode from “Auto” to “Perceptual” in the tool options bar. I found this helps keep the texture consistent. It’s a tiny button, easy to miss. But it matters.
One thing that drives me nuts about the tool
Ok so here’s my pet peeve. The Remove Tool does not have a dedicated keyboard shortcut by default in Photoshop 2024. You have to customize it yourself, or hunt for it in the toolbar every time. For a tool this useful, that’s just lazy on Adobe’s part. I ended up mapping it to the “J” key (which is normally the healing brush group). You can do that in Edit > Keyboard Shortcuts. Do it now. You’ll thank me later.
And another weird thing: sometimes the tool leaves a faint outline around the removed object. Like a ghost edge. It’s subtle, but if you zoom in it’s there. Usually I just hit it with the Spot Healing Brush at a small size and it cleans up. Why does it happen? Honestly I think it’s a bug, not a feature. Maybe a future update will fix it. Until then, it’s a minor annoyance.
Should you update to Photoshop 2024 just for this?
If you already have a subscription, you already have the Remove Tool. It’s in the current version. So yes, go find it and try it. If you’re still on an older version, like Photoshop 2022 or CS6, is this tool worth the upgrade? For me it was. I use it multiple times a week. It’s not a gimmick. It genuinely saves time.
But here’s the honest truth: if you rarely remove objects from your photos, then maybe don’t bother. The Clone Stamp still works fine for occasional use. This tool is for people who regularly clean up travel shots, real estate photos, or portrait backgrounds. It’s a workhorse, not a party trick.
Give it a try on a messy photo you have. I bet you’ll be surprised. And if you run into trouble, come back and re-read the pro tips. You’ve got this.
#photoshoptutorial #removeobject #phototips #photoshop2024 #editinghacks
Leave a Comment