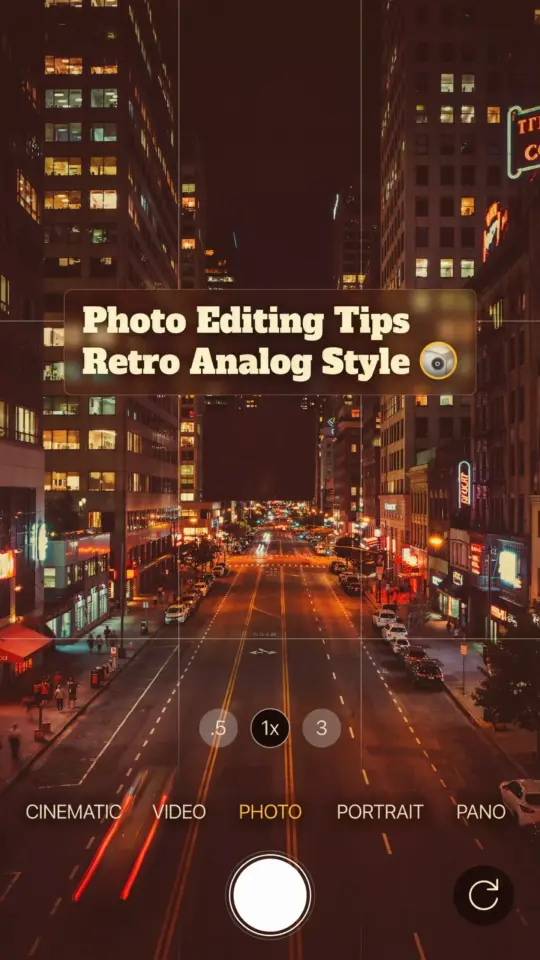
Your phone has a camera that can do incredible things, but most of the time we treat it like a point-and-shoot from 2005. I spent years taking blurry, washed-out photos and blaming the hardware, when the real problem was me, my habits, and a greasy lens cover. Mobile photography is not about buying the newest Pro Max or Pixel, it is about unlearning lazy habits and forcing yourself to slow down for half a second.
Ok so here is the thing, I am not a professional photographer. I am just someone who got tired of zooming into a photo of my dog and seeing a fuzzy potato. After a lot of trial and error, a few YouTube rabbit holes, and one very frustrating photo walk in the rain, I figured out five tricks that genuinely changed my results. They are stupidly simple. But they work.
Clean Your Lens: The Free Upgrade You Keep Skipping
Honestly, the biggest offender is usually just a smudge. I cannot tell you how many times I have taken a photo that looked hazy, only to realize my fingerprints were all over the glass. Your phone lives in your pocket, your bag, your hand, and it picks up oils and dust constantly.
Grab a microfiber cloth, or honestly, the corner of your shirt works in a pinch, and just wipe the lens before every shot. Not sometimes. Every single time. I know it feels redundant, but it takes two seconds.
Make it a ritual. Reach for your phone, wipe the back, unlock the screen. You will be stunned at how much sharper your photos get when you are not shooting through a film of grease.
Tap to Lock Exposure: The One Setting That Actually Matters
Look, I used to just point my phone at a scene and pray. The result was always the same, the sky blew out completely or my subject turned into a black silhouette. The culprit is auto-exposure, it averages everything out and usually gets it wrong.
Here is the fix. Tap on your subject on the screen. Then, hold your finger down until you see the “AE/AF Lock” or a little yellow box that says locked. That tiny action tells your phone to focus on that spot and, more importantly, to meter the light for that specific area.
This is the trick I was talking about in the pins, the one that totally changed my workflow. Once you lock exposure, you can move your phone to recompose the shot without the brightness going crazy. It is not a pro feature, it is just a standard function that nobody uses, and it saves so many photos from the trash bin.
Turn On the Grid and Learn to Break It
Composition is not a dirty word. I used to think it was for artsy people with expensive cameras, but then I turned on the grid lines and realized it is just math. Go to your camera settings, find the grid option, and switch it on. You will see two horizontal and two vertical lines dividing your screen.
The rule of thirds says you should place your main subject along those lines, or at the points where they intersect. It sounds like homework, but it instantly makes your photos look intentional. It gives the image breathing room instead of cramming everything into the center.
But here is my unpopular opinion, the grid is a guide, not a law. Sometimes, centering your subject is the right call, especially for portraits or symmetrical architecture. Use the grid to help you frame the shot, then purposefully break the rule if the scene calls for it. Just be honest with yourself about whether you are breaking it on purpose or just being lazy.
Use Natural Light Like a Hunter, Not a Tourist
The worst photos I have ever taken were in the middle of a sunny afternoon. The light was harsh, shadows were deep, and everyone looked like they were squinting. But the best photos I have ever taken? Those happened during the “golden hour,” that soft, warm window right after sunrise and right before sunset.
I know you have heard this before, but let me give you a specific, practical example. Instead of shooting at noon, try standing in the shade of a building or a tree. That instantly diffuses the harsh light and makes your subject look ten times better. It is like having a softbox, except it is free and you are just standing there.
I am not saying you need to wake up at 5 AM every day. But try to notice where the light is coming from before you hit the shutter. Move your feet. Turn your body. If the light is ugly, walk two meters to the left and see if that helps. Seriously, natural light is your best filter, you just have to chase it around a bit.
Force Your Phone to Focus: Tap, Wait, and Breathe
We have all been guilty of this, tapping the shutter button and immediately pulling the phone down to look at the result. That is a recipe for blurry garbage. Your phone needs a moment to lock focus and process the frame, even if it feels instantaneous.
So here is the step-by-step process I use now. It sounds simple, but it works.
– Tap the screen to select your focus point.
– Wait a full second, let the yellow box stop flickering.
– Lock the exposure if you need it (see trick two).
– Hold your breath for a split second.
– Press the shutter and lower the phone slowly.
That last part is crucial. Don’t jerk the camera away like you are scared of it. Treat it like a tiny, fragile egg that happens to have a lens on the back. And if you are really struggling with camera shake, lean against a wall or a lamp post to steady yourself. Stabilization is not just for tripods.
That breathing thing sounds silly, but it works. Your arms move slightly when you breathe, and that tiny movement is the difference between a knife-sharp shot and a slightly off one. I look like an idiot standing on the sidewalk holding my breath, but my photos are way better. Everyone around me can deal with it.
Stop Zooming, Start Walking
Ok so this is more of a rant than a tip, but it needs to be said, the zoom on your phone is digital, not optical. Unless you have a dedicated telephoto lens or a high-end flagship, zooming in is just cropping the photo before you take it. It makes things look closer, but it also destroys detail and adds noise.
Instead of pinching the screen, use your feet. Physically walk closer to your subject. It sounds obvious, but it is a habit that is incredibly hard to break. I still catch myself zooming in on a menu to read it, then missing the shot entirely because the text is a pixelated mess.
This ties into the whole “get sharper photos” theme. A photo that is slightly smaller in the frame but perfectly sharp is always better than a cropped, grainy mess. Fill the frame with your feet, not the zoom slider. Unless you are documenting a UFO, you do not need that digital zoom. Just walk.
At the end of the day, sharp photos are not about luck or having the best gear, they are about control. You are in charge of the camera, not the other way around. So go take some photos, test out the exposure lock, and clean your damn lens before you hit that shutter button. I would love to hear which trick makes the biggest difference for you, so feel free to drop a comment or tag me in your shot. Get out there and shoot.
Leave a Comment