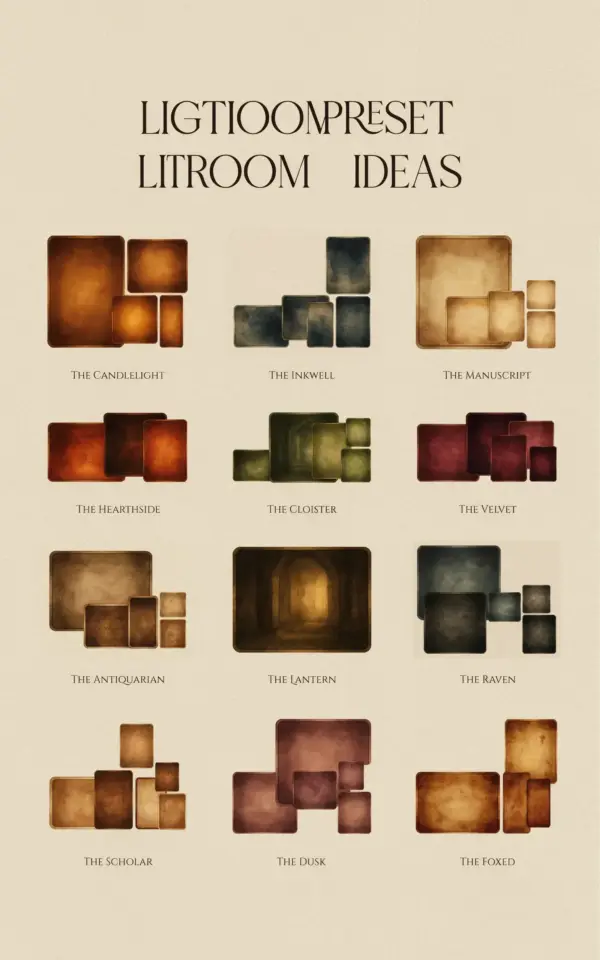
You have a pile of prints sitting on your dining table and a hammer in your hand. Hold on. Creating a photo gallery wall that looks cohesive is more about planning than hammering. I’ve moved three times in five years, so I’ve gotten painfully good at editing photos and rearranging frames. Let’s make this easy.
Pick a Theme Before You Open Lightroom
Start by deciding what kind of feel you want. Do you want a bright, airy collection of travel photos? Or a moody wall of black and white portraits? Nail this down before you even open the app.
For my last gallery wall, I chose a “desert in muted tones” vibe. That meant sandy yellows, faded teals, and lots of soft shadows. It sounds fussy, but it gave every print a common thread before I started editing.
You can use almost anything as your theme:
- Same color palette, like all black and white or all warm neutrals.
- Same subject matter, like only landscapes or only family candids.
- Same frame style, which we’ll get to later.
How to Edit Photos with Free Lightroom Presets
Ok so here’s the thing: free Lightroom presets are your shortcut to a cohesive wall. You don’t need to manually tweak every photo until your eyes cross. Just find a preset that matches your theme and apply it to every image.
Download the free presets I’m sharing for this project. They’re built for natural light photos, so they work on most phone shots. Open Lightroom, import your pictures, and tap the preset. Then adjust the exposure slider per image, because not every photo was taken at the same time of day.
I once tried to use a preset made for golden hour on a photo taken in my kitchen at noon. It turned everyone’s skin orange. Read the preset description before you click.
Make Every Photo Follow the Same Mood
Lightroom presets help, but they’re not magic. You still need to look at each image and ask one question: does this match my theme? If a photo is too bright, pull the highlights down. If it’s too cool, warm up the white balance.
Here’s the trick: don’t leave any obvious blue-toned photo next to a warm-toned one. The difference screams when they’re side by side. For a cohesive gallery wall, compare each edited photo to the whole group, not just to the original.
Does that sound like a lot of work? It’s twenty minutes, tops. One more thing: keep your edits simple. Too many weird filters and your wall will look like a crowded dressing room mirror. You want your photos to feel like they belong together, not like they got lost in a clothing store.
Lay Out Your Frames on the Floor First
Now the fun part. Before you hammer a single nail, grab all the frames and lay them on the floor. This is how you figure out spacing without turning your wall into swiss cheese. I learned that the hard way after a hanging mishap in a rental hallway.
Arrange the frames in a rough rectangle, a grid, or a loose organic cluster. Step back and move things around. Take a photo of the floor layout with your phone, so you can reference it while you’re on the ladder.
- Keep the gaps between frames around 2 inches, or make them all exactly even.
- Put the largest print in the center or offset to one side for a curated feel.
- Group smaller frames around the edges.
Use painter’s tape to mark the corners on the floor. Seriously, it makes a huge difference when you’re trying to remember which spots line up with which studs.
Arrange by Balance, Not by Symmetry
Perfectly symmetrical gallery walls look great in magazines, but they can feel stiff in a living room. I like to balance the visual weight instead. That means a big frame on one side and a cluster of three small frames on the other.
Think about it like holding a weight in each hand. The heavy side should be balanced by something bulky, even if it’s not the same shape. Use frames of different sizes, but keep them in the same color material.
Not gonna lie, this step takes trial and error. Leave the floor arrangement for a night if you have to. Wake up fresh and see if it still feels right.
Leave a Comment